How to Install Metal Roofing (Step-by-Step Guide for Beginners!)
Introduction
Metal roofing is becoming increasingly popular due to its durability, energy efficiency, and long lifespan. Whether you are looking to replace an old roof or install a new one, metal roofing is an excellent option. While it may seem like a complex task, installing metal roofing can be a straightforward DIY project if you follow the correct steps. This guide will walk you through the process step by step, from preparation to final installation, ensuring a successful project.
Benefits of Installing a Metal Roof
Before diving into the installation process, it’s essential to understand why metal roofing is a great choice. Some of the key benefits include:
- Longevity: Metal roofs can last 40 to 70 years, significantly longer than asphalt shingles.
- Durability: They can withstand extreme weather conditions, including heavy rain, snow, and high winds.
- Energy Efficiency: Metal roofs reflect solar radiant heat, reducing cooling costs.
- Eco-Friendly: Most metal roofs are made from recycled materials and are 100% recyclable at the end of their life cycle.
- Low Maintenance: Requires minimal upkeep compared to traditional roofing materials.
Tools and Materials Needed
Before starting the installation, gather all the necessary tools and materials. This ensures a smooth and efficient process.
Tools:
- Measuring tape
- Chalk line
- Metal cutting shears
- Drill and drill bits
- Hammer
- Screw gun
- Safety gloves and goggles
- Roofing ladder
- Utility knife
Materials:
- Metal roofing panels
- Roofing underlayment
- Flashing
- Screws with rubber washers
- Sealant
- Ridge caps
- Eave and gable trim
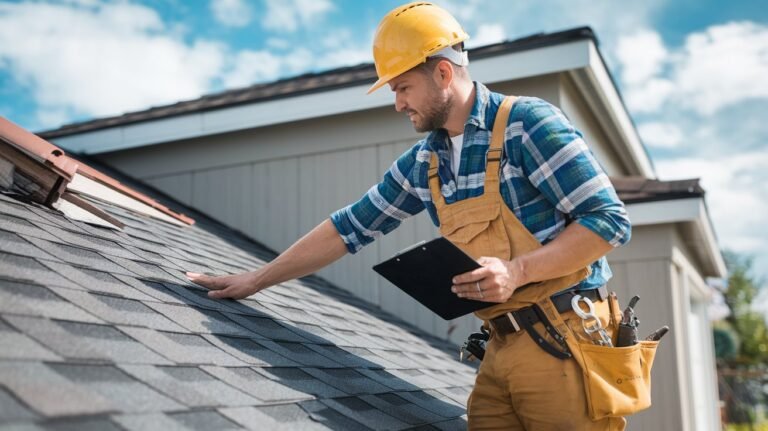
Step 1: Prepare the Roof Surface
Preparation is key to a successful installation. Follow these steps to ensure a solid foundation for your metal roof:
- Remove the Old Roof (if applicable): If you are replacing an existing roof, remove all old shingles, nails, and debris.
- Inspect the Roof Decking: Ensure the plywood or decking underneath is in good condition, free of rot or damage.
- Install Roofing Underlayment: Roll out roofing felt or synthetic underlayment over the entire roof surface. This acts as a moisture barrier and provides extra insulation.
- Secure the Underlayment: Staple or nail the underlayment to the decking, ensuring it lies flat and covers all areas properly.
Step 2: Measure and Cut the Metal Roofing Panels
Accurate measurements are crucial to avoid material wastage and ensure a proper fit.
- Measure the Roof Area: Calculate the total square footage to determine how many panels you need.
- Mark and Cut the Panels: Use a chalk line to mark where you need to cut. Use metal cutting shears or a circular saw with a metal blade to cut the panels accordingly.
- Allow Overhang: Leave a slight overhang (1 to 2 inches) at the edges to direct water away from the structure.
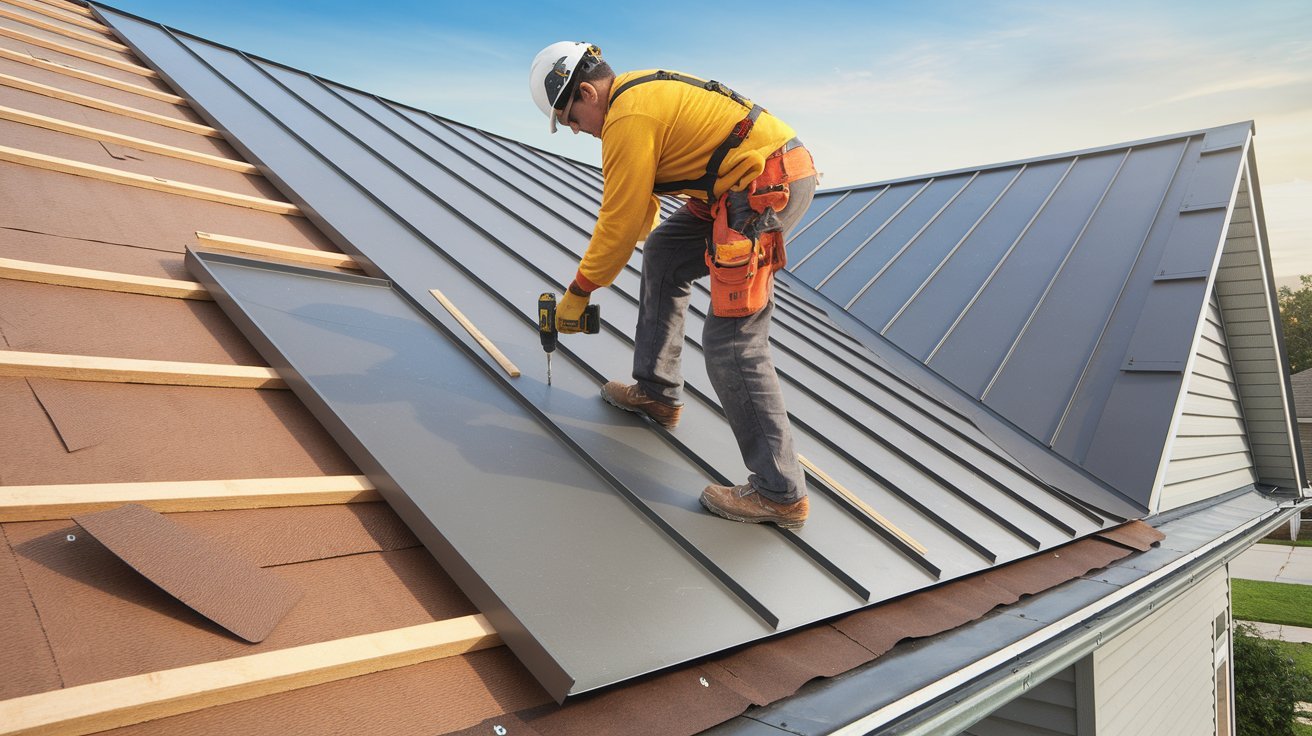
Step 3: Install the Metal Roofing Panels
Now comes the most important part—placing and securing the metal panels.
- Start from the Bottom: Begin at the eave (lowest edge) of the roof and work your way up.
- Align the First Panel: Position the first panel squarely along the edge of the roof.
- Secure the Panel: Use screws with rubber washers, placing them into the ridges of the panel rather than the flat areas to prevent leaks.
- Overlap the Panels: Each panel should overlap the previous one by at least an inch to ensure proper water runoff.
- Continue Securing Panels: Repeat the process until you reach the top of the roof.
Step 4: Install Flashing and Trim
Flashing and trim help prevent water leakage and improve the roof’s appearance.
- Eave Trim Installation: Secure eave trim along the bottom edges of the roof.
- Gable Trim Installation: Attach gable trim to the sides to protect against wind and rain.
- Valley Flashing (if applicable): If your roof has valleys, install valley flashing to channel water away.
- Ridge Cap Installation: Finally, install ridge caps at the roof’s peak to seal the seams between panels.
Step 5: Inspect and Seal the Roof
After installation, perform a thorough inspection to ensure the roof is properly sealed and secured.
- Check for Loose Screws: Tighten any loose screws to ensure they are properly fastened.
- Apply Sealant: Use a high-quality roofing sealant to seal any exposed screws or gaps.
- Inspect for Leaks: Run water over the roof with a hose to check for any leaks or areas needing extra sealing.
Step 6: Final Cleanup and Maintenance Tips
- Remove Debris: Clear away any metal shavings, screws, or leftover materials to prevent rust and damage.
- Regular Inspections: Periodically inspect the roof for loose screws or sealant wear.
- Keep Gutters Clean: Remove leaves and debris from gutters to ensure proper water drainage.
- Address Issues Promptly: If you notice any issues, fix them immediately to prevent larger problems down the road.
Conclusion
Installing a metal roof may seem challenging, but by following these step-by-step instructions, even beginners can achieve professional-quality results. A metal roof offers numerous benefits, including longevity, energy efficiency, and low maintenance. With proper installation and care, your new metal roof will provide decades of protection and enhance the value of your home. Whether you’re tackling this project yourself or hiring a contractor, this guide ensures you understand every step of the process. Happy roofing!
Read Also Our This Post: How to Get Perfect French Tips Nails: Easy Guide + Top Trends